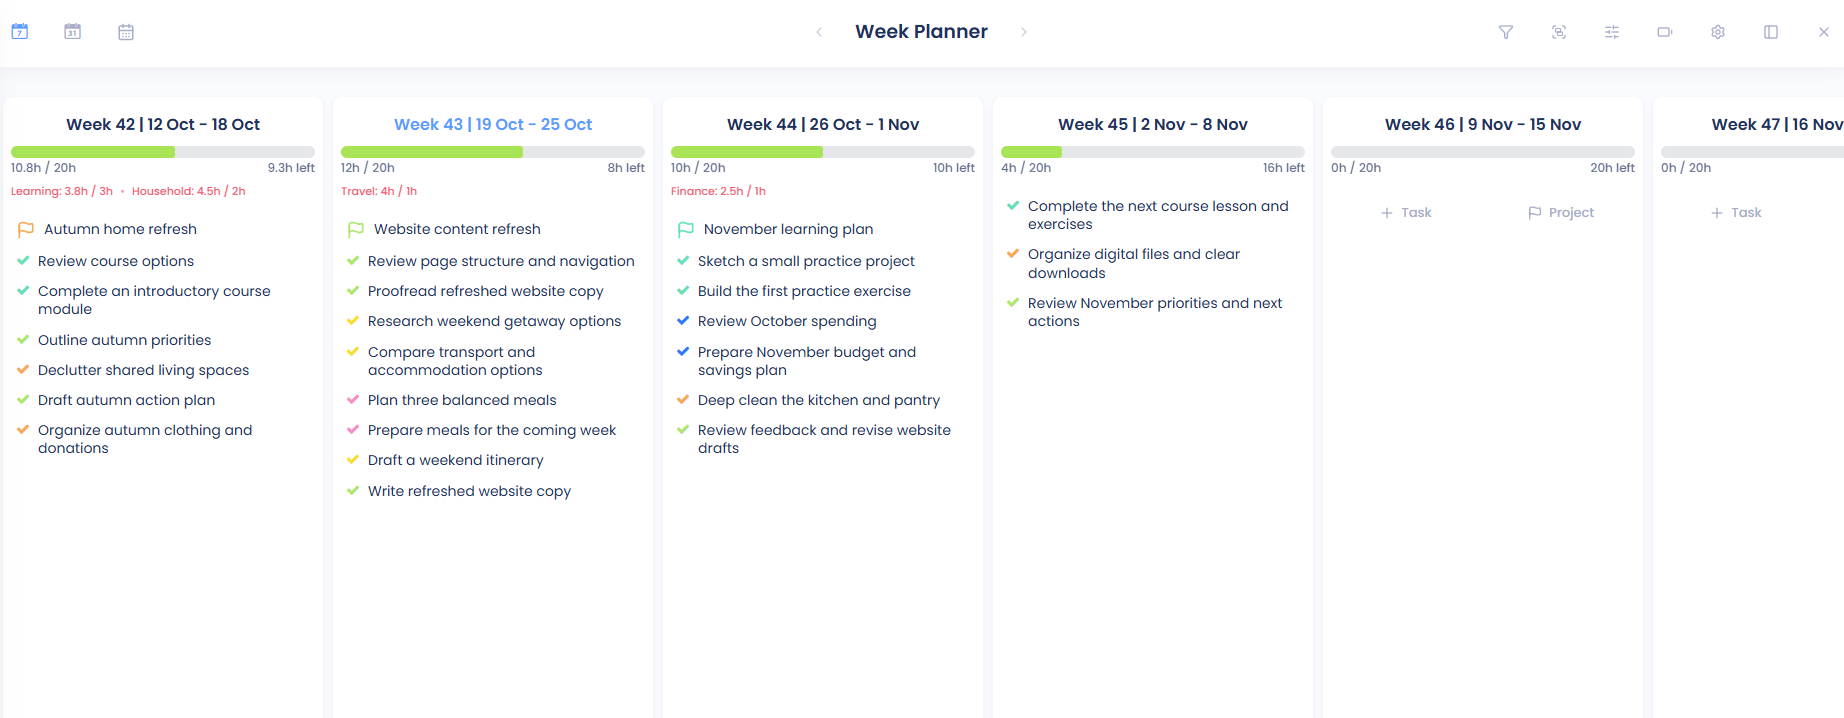
The planning ahead strategy allows you to "plan" tasks and projects for specific weeks and months.
Planning vs. Scheduling
Planning in Marvin is separate from scheduling a task to a specific day.
Before using this strategy it is important to understand the difference.
Start and End dates
To plan a task or project basically means to give it a start and an end date.
The start date means you don't want to work on this task before this date.
The end date means you want to have the task completed by this date (like an artificial due date/deadline).
The Planning ahead strategy
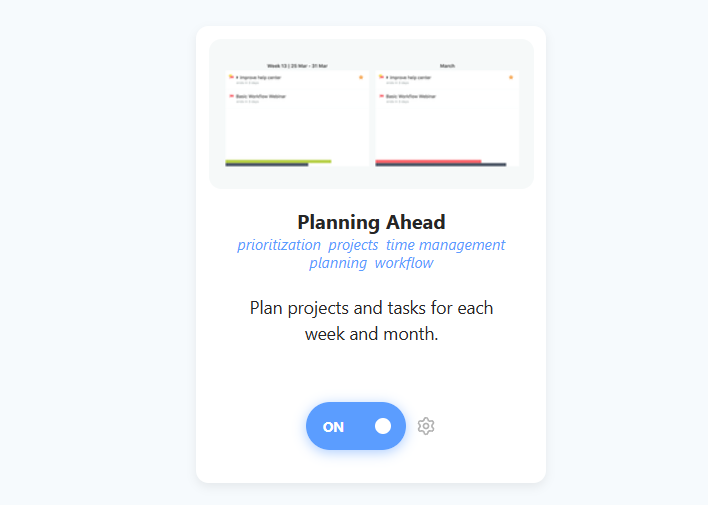
The planning ahead strategy allows you to plan tasks and projects for specific weeks, months and quarters.
A basic workflow example
A basic workflow is to
Figure out what you want to get done this month first (plan projects for this month).
Then allocate those projects to the specific weeks in this month.
Finally either work directly from the weekly list (e.g. fill your Matrix with it, use "the Wall")
or use your weekly list to plan your days (scheduling tasks/projects work sessions to specific days).
How to plan tasks and projects in the planning overlay
The easiest way to plan your months and weeks is by going to the planning overlay.
Opening the planning overlay
First, go to ☰ → Features and enable the "Planning Ahead" strategy.
When you enable it, you'll be asked how you want to access it within Marvin:
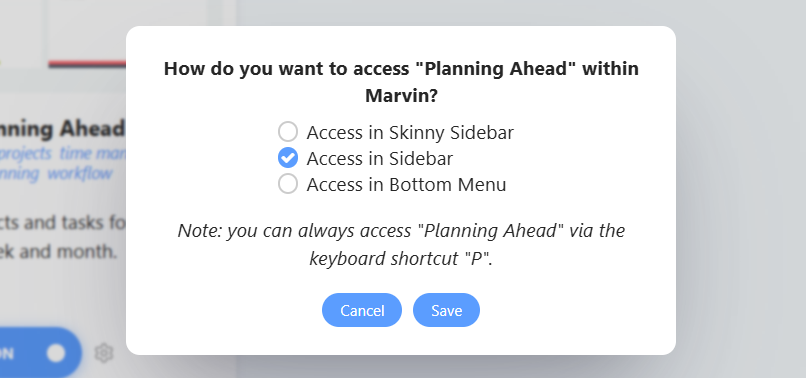
To open it, either press "P" on your keyboard in the day/main view or click on the "Planning Ahead" link in the left sidebar (if you added it to the sidebar).

The planning overlay
The planning overlay has a rectangle for each week, month or quarter.
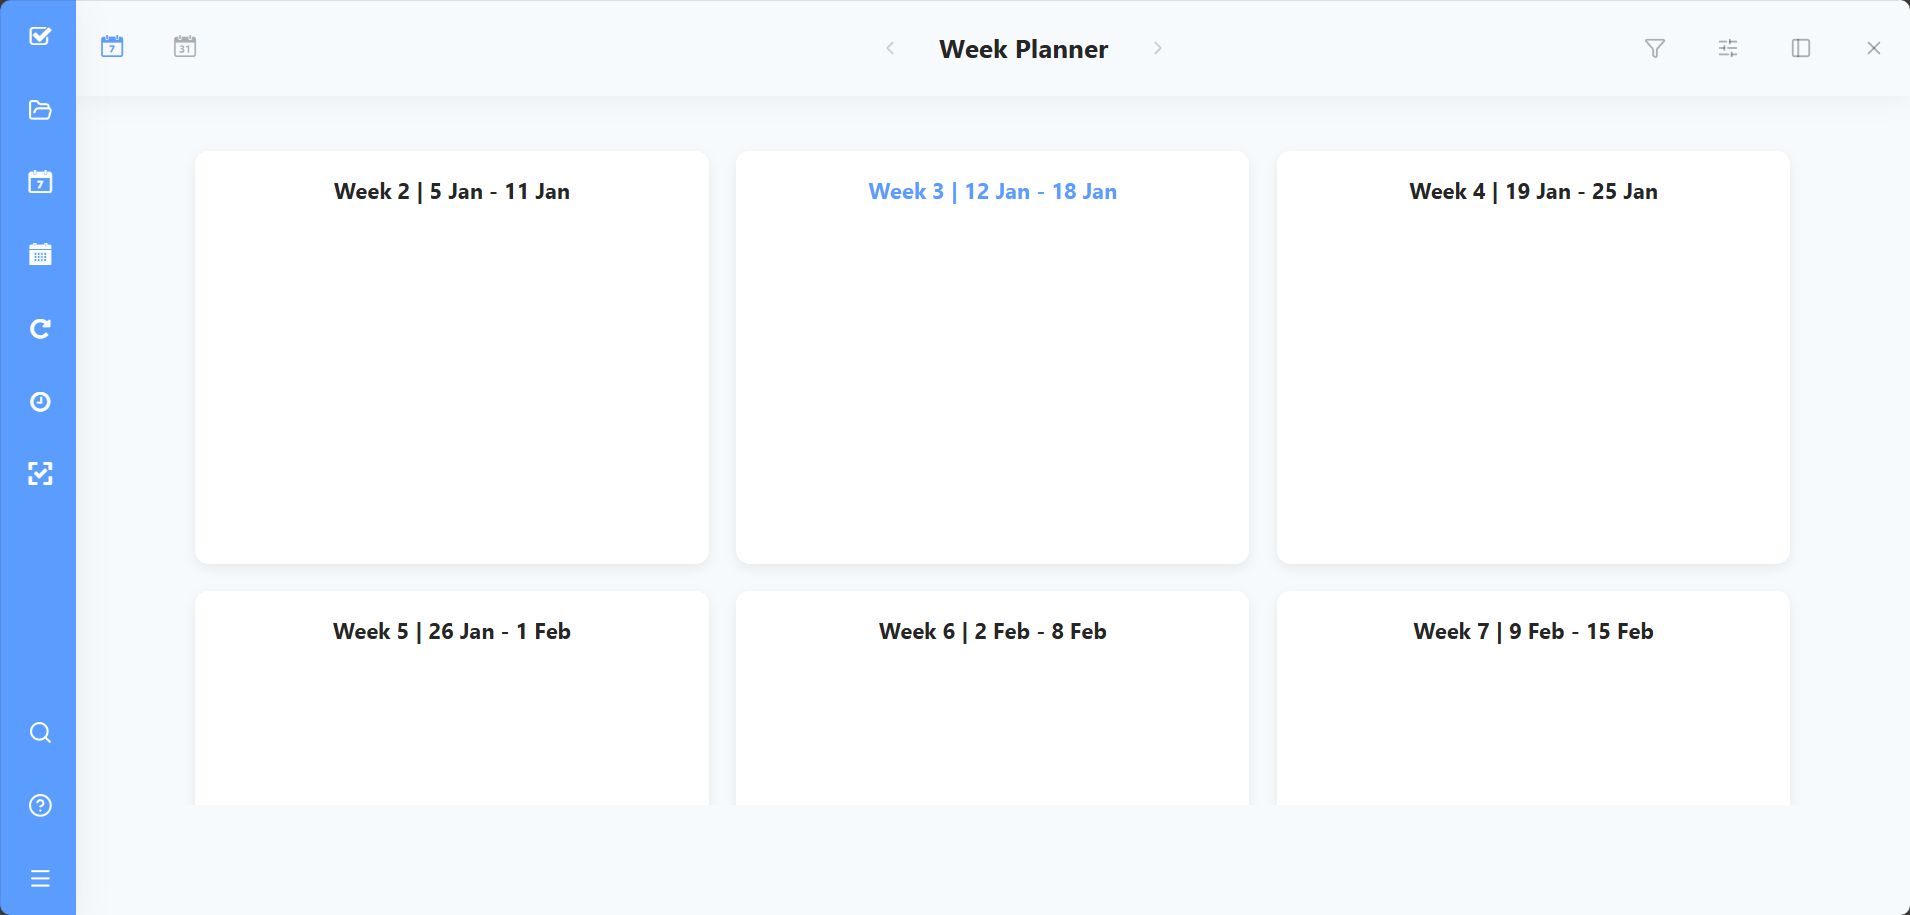
Toggling between weeks, months and quarters
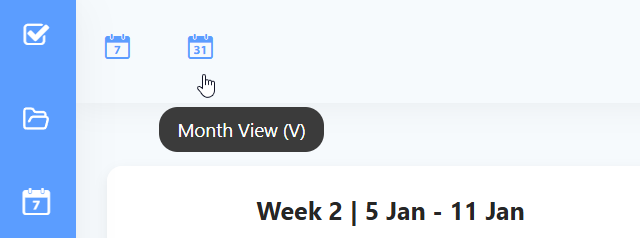
To switch between weeks, months and quarters use the keyboard shortcut "V" or click on the buttons in the top left corner. If you don't use quarters, turn off Show quarter view in the strategy settings.
Planning tasks and projects
To plan specific items for the weeks and months, open up the Master List sidebar with the icon at the top right or use the "X" keyboard shortcut.
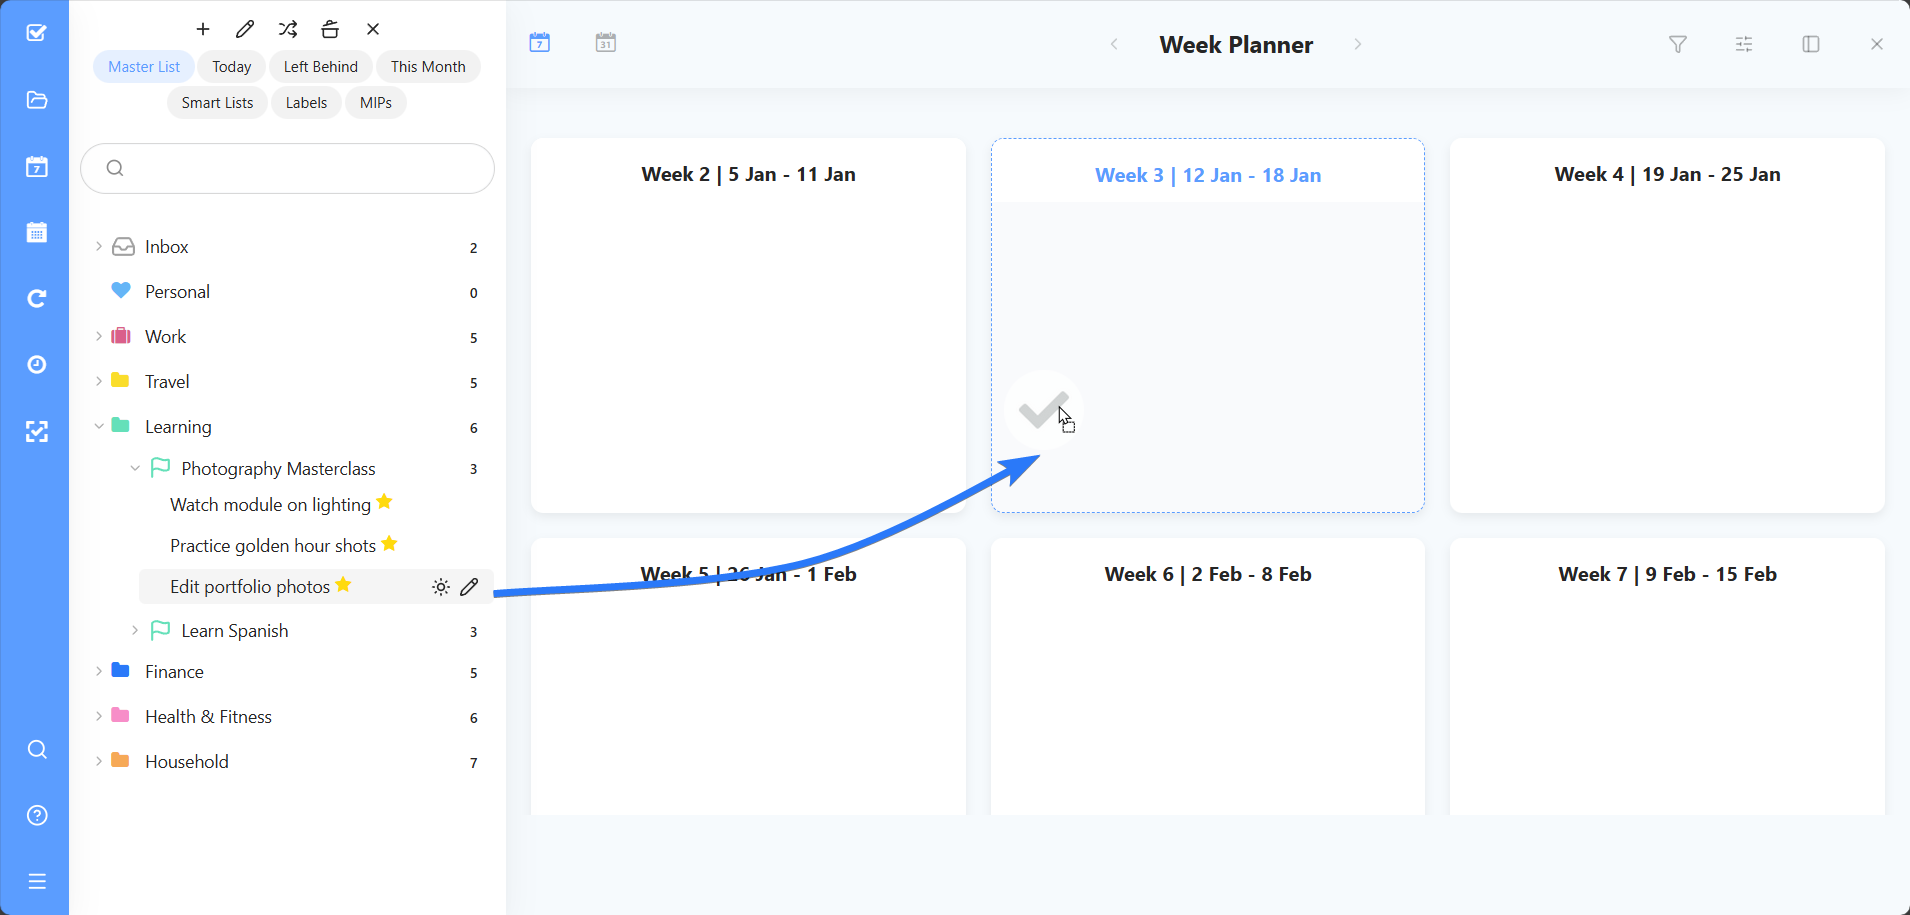
You can now drag projects and tasks from the sidebar directly into a rectangle to plan it for this week/month.
Layout and capacity
Click the Configure display button at the top right to choose a Layout: Kanban, 3 Column or 2 Column. You can set a different layout for weeks, months and quarters.
In the same menu, turn on Show capacity to see how much you've planned in each week, month or quarter compared to the time you have. Click the Capacity settings button to set your capacity: Simple (same hours every day), By Category (weekly hours per category) or By Day (per category, per day).
How to plan tasks and projects directly
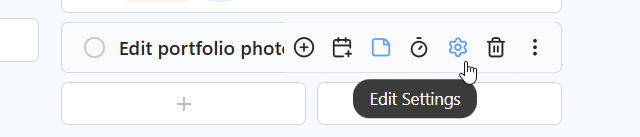
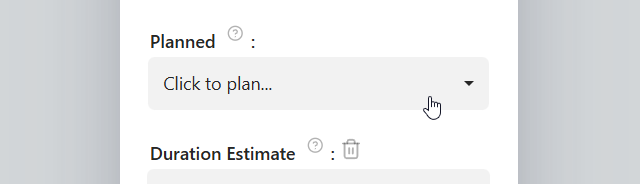
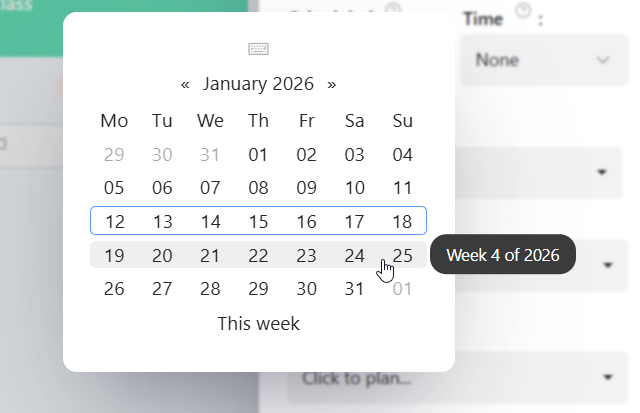
Click on the edit icon of a task or project and find the "Planned:" option.
Picking a week
To pick a week, just hover over the week you want and click. Or use the shortcut "This week" at the bottom to select the current week.
Picking a month
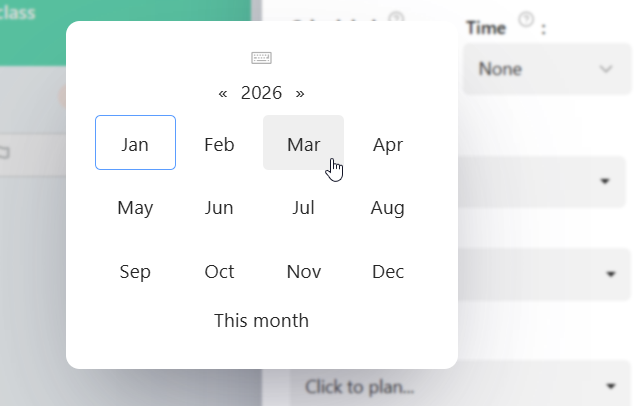
If you only want to plan the item for a month instead (less specific) click the month title at the top "March 2026" and then pick a month.
Picking a quarter
To plan an item for a quarter, use the Set planned quarter action. You can add it to your Hover Button Menu or Right-click Menu (see below).
Un-planning an item
To remove the planned week or month from an item click the trash icon.

Using Hover Buttons Menu / Right-click Menu
You can always add shortcut buttons for planning and unplanning items by going to ☰ → Features/Strategies and opening the Hover Button Menu or Right-click Menu strategy settings. Once there, click on the "Add" button, then on "Action", and choose the desired action.
Planning Ahead settings
Show planned icon: planned items get a map icon.
Show planning tags: show tags like "This week" or "Next month" on items outside the planning view.
Upward planning sync: items planned for a week also show in that month, and items planned for a month also show in that quarter.
Exclusive planning tiers: items planned for a specific week or month are hidden from the broader month or quarter views, so each level works as its own list. This can't be on at the same time as Upward planning sync.
Show quarter view
Include scheduled tasks: tasks scheduled for a day also show in the week, month and quarter that day falls in. You can pick which views under Show scheduled tasks in.