Add a main category for each area of responsibility in your life
Add subcategories for very large categories (ones with lots of to-dos)
Add any large to-do as a project to the relevant category
Add single action steps as tasks to the relevant category
Household (e.g. taxes, bills, cleaning, errands)
Work (if you use Marvin for both personal and work tasks)
Marketing, Admin (areas of non-overlapping work responsibilities or use subcategories)
Client A (for freelancers with a few big clients)
Health & Self Care (e.g. exercise, doctors appointments, meditation, reading books)
Side Project (e.g. building a business, creative projects)
School (general or create a main category for each subject)
Hobbies (general or create separate main categories for specific hobbies)
Social (e.g. remembering to call or write people, doing things for others)
Learning (e.g. learning languages or a new skill, educational reading, online courses)
Volunteering
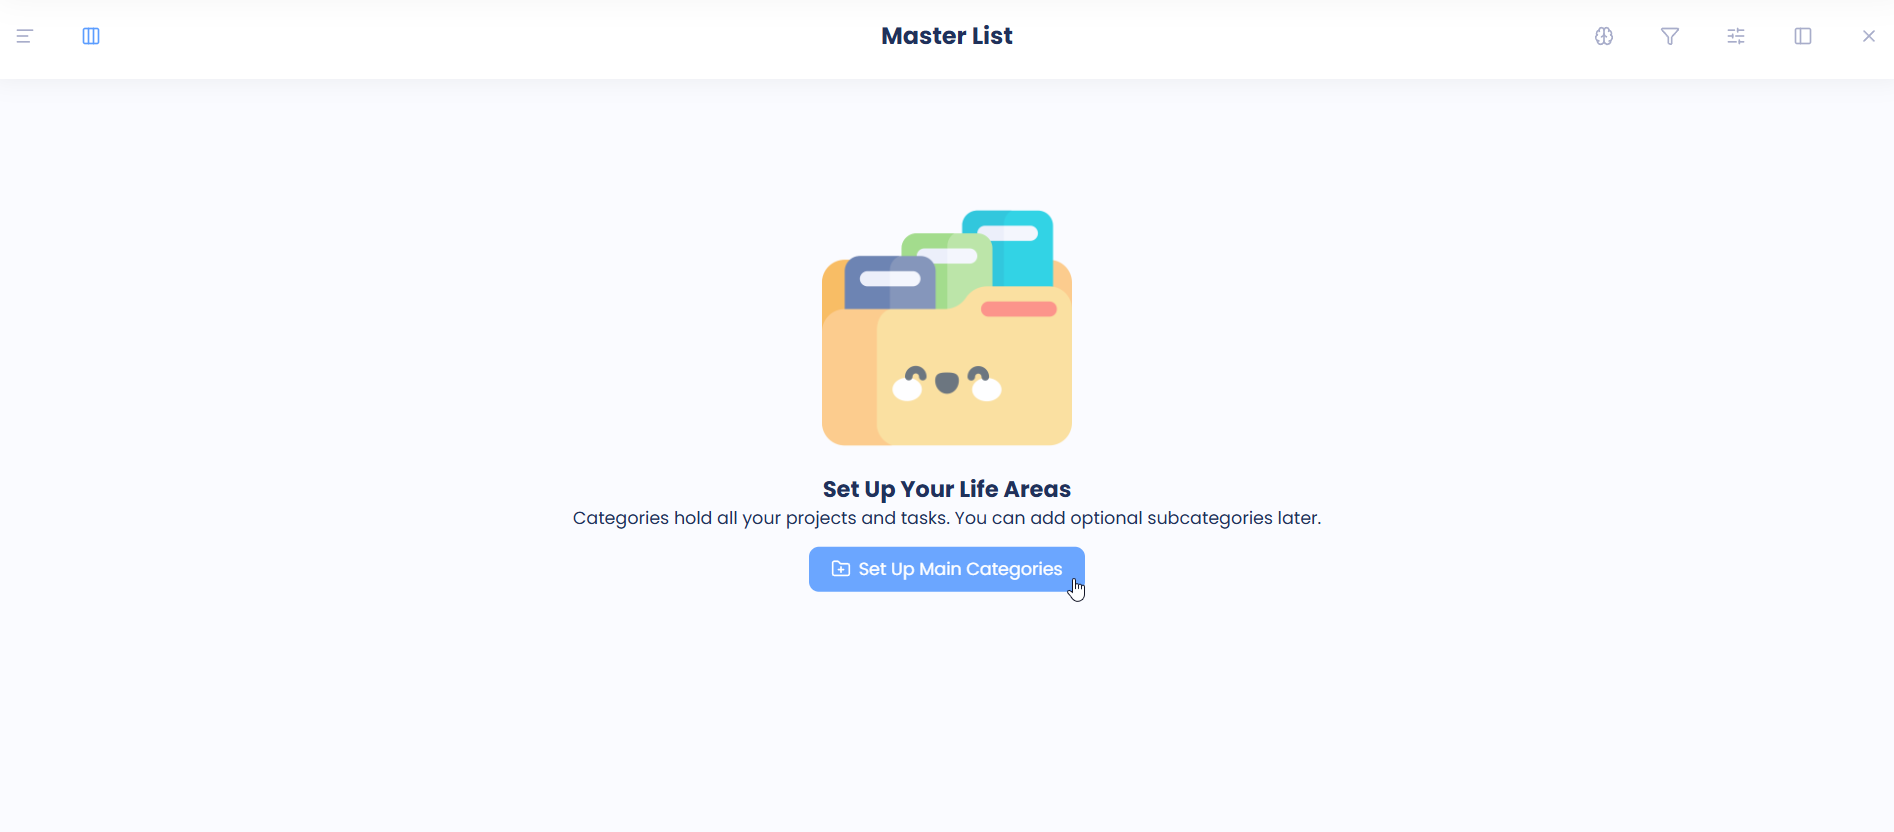
Categories are the containers that hold your tasks and projects. Think of them as the different areas of your life where to-dos show up: Work, Home, Admin, Hobbies, Health etc.
They're the top level of your Master List and everything else lives inside them. If something is not assigned to a category they go to the "Inbox" default category.
Setting them up takes a few minutes and makes every task easier to put away and find again.
What makes a good set of categories
Cover your whole life, not just work. If you'd like to remember it, it needs a home. Personal errands, family, health and hobbies all count.
Keep them from overlapping. Each task should have one obvious place to go. If you keep hesitating between two categories, merge them.
Start with fewer. Five to eight is plenty for most people. You can split a category into two later when it gets crowded (or use subcategories).
Areas, not projects. "Health" is a category. "Run a half marathon" is a project inside it. A project is eventually finished, a category is a bucket that will keep holding to-dos.
Some examples people use: Work, My Business, Side Hustle, Home, Personal, Self Care, Health, Finance, School, Learning, Social, Admin, Hobby, Friends & Family, Volunteering.
Setting up your categories
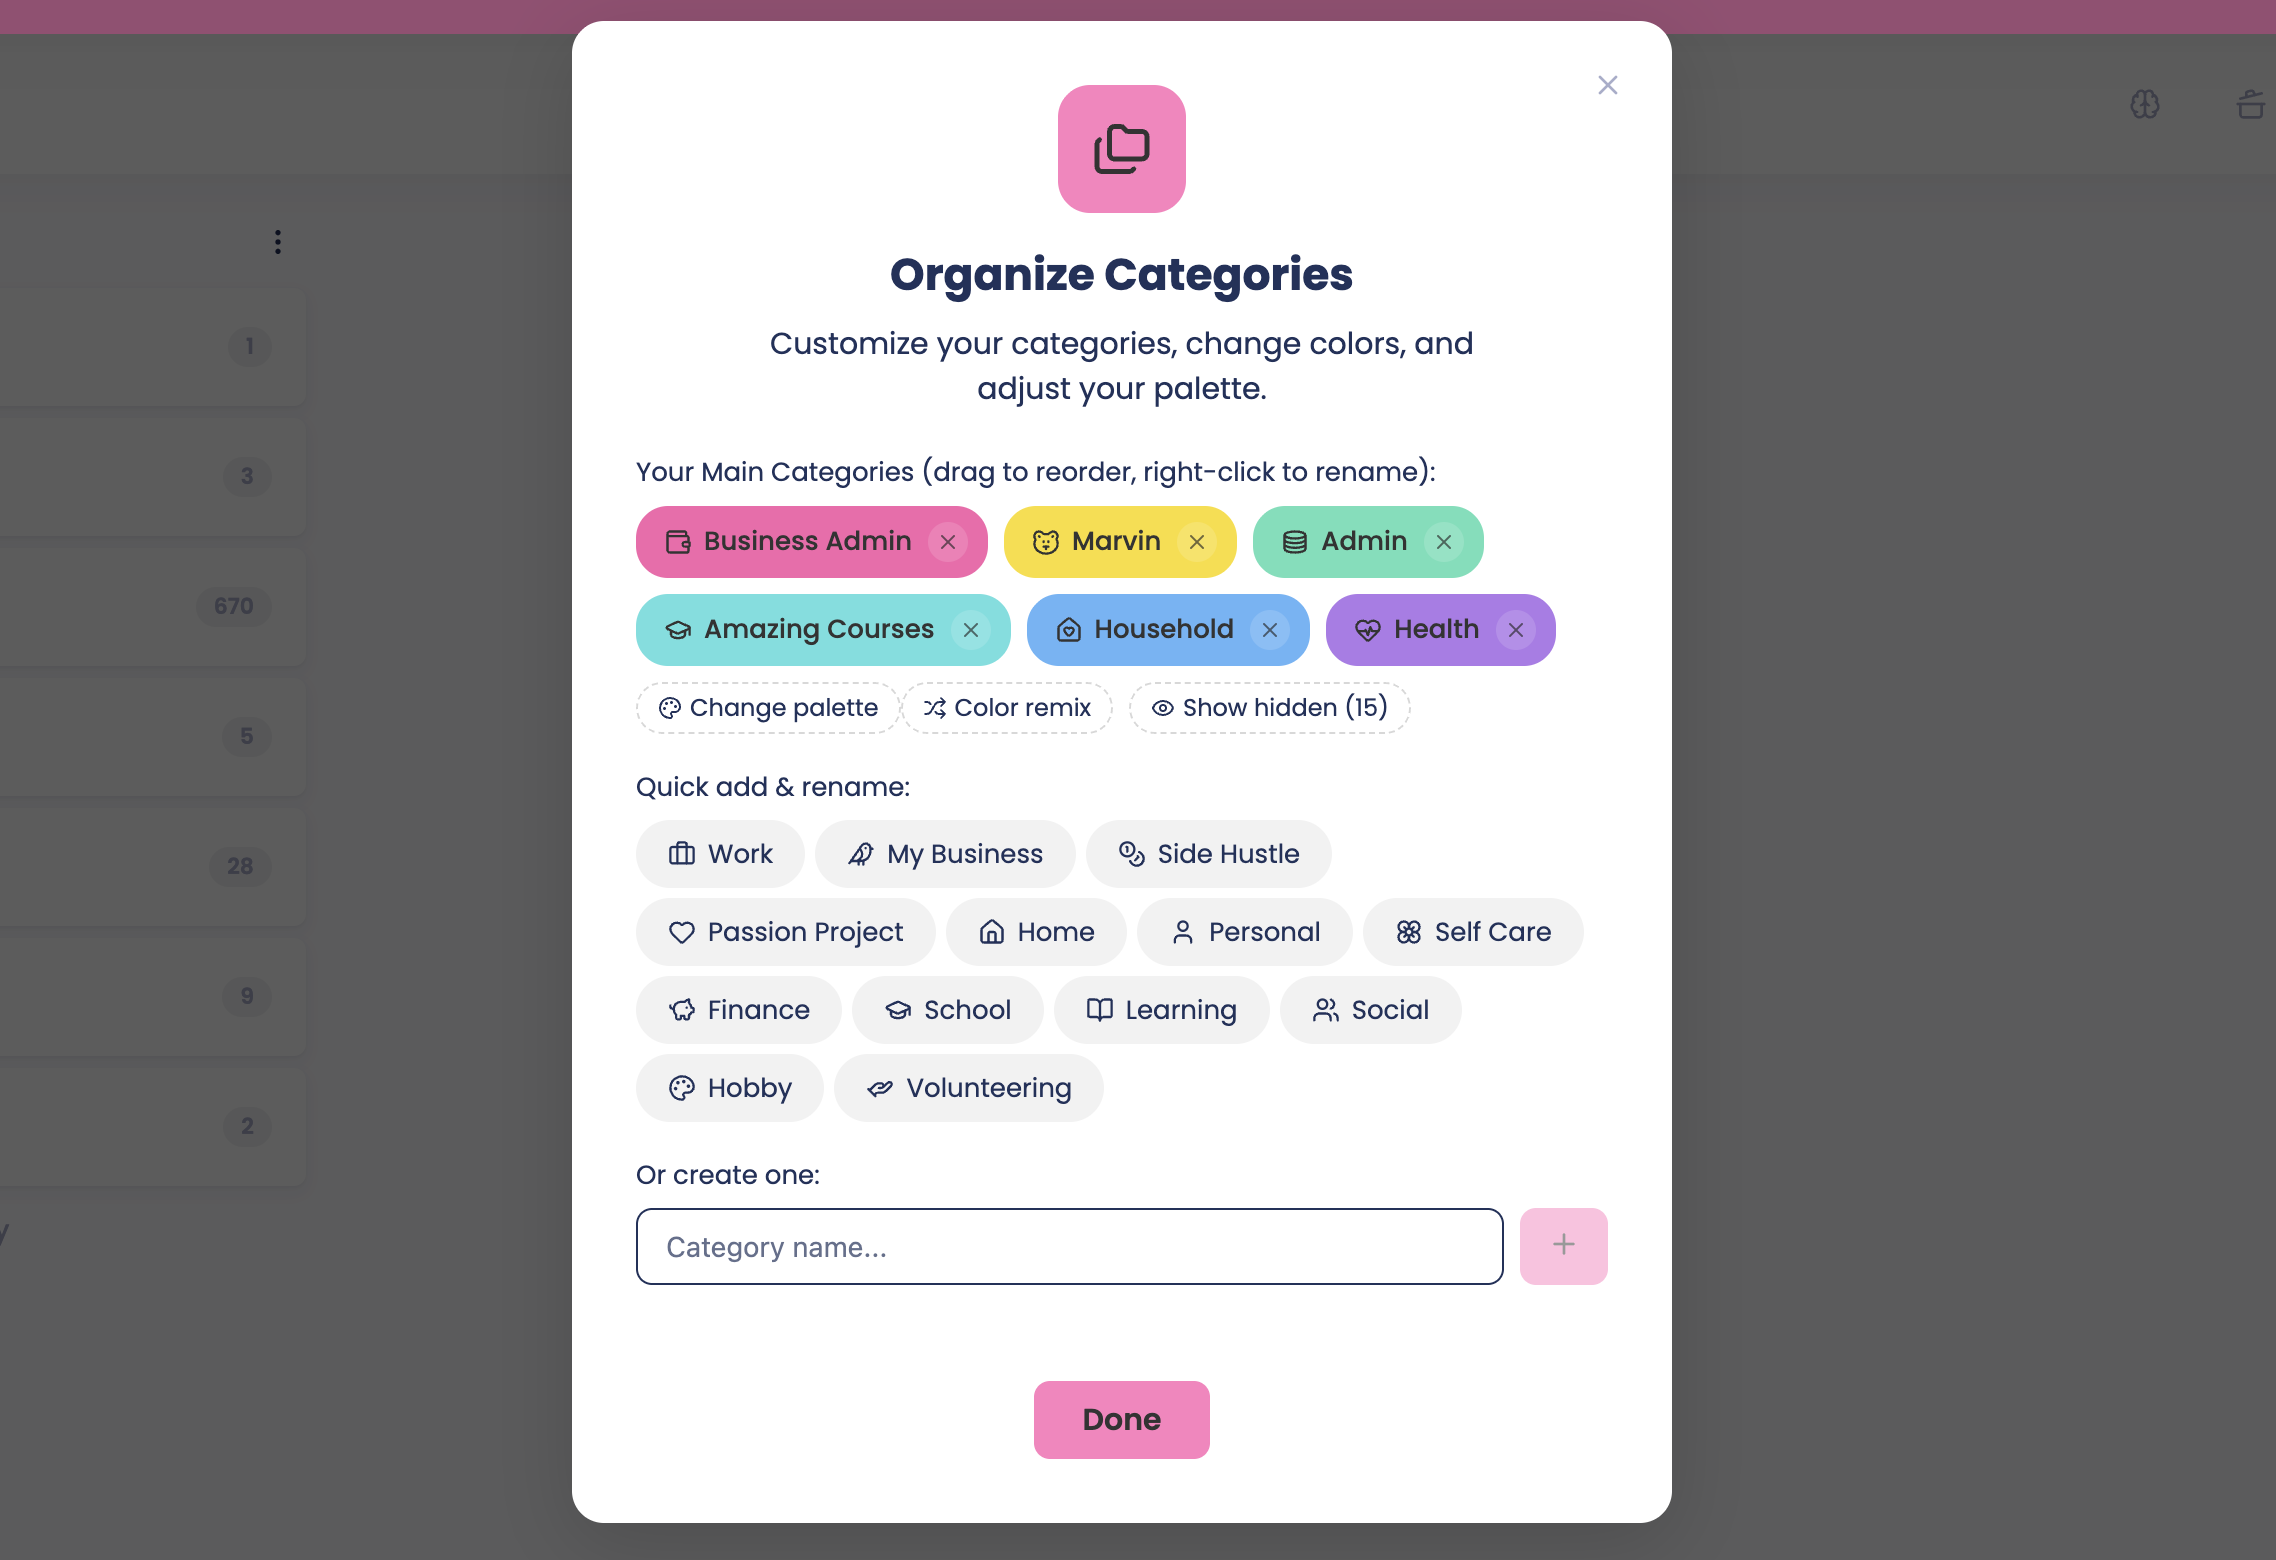
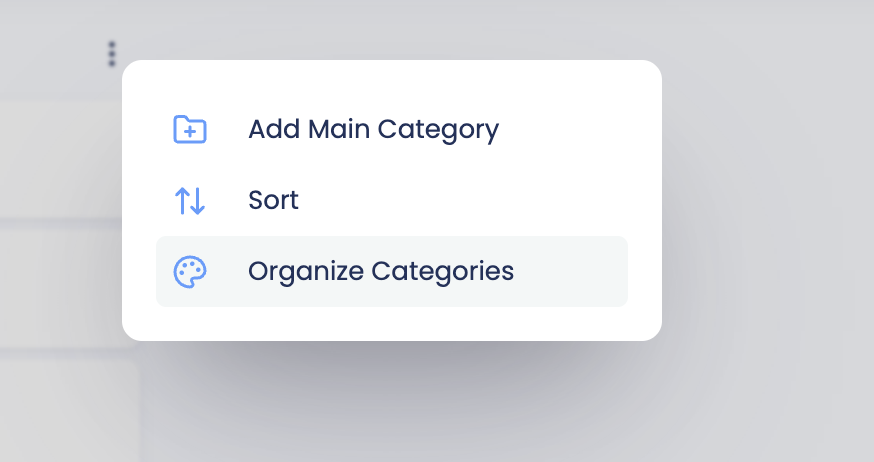
You'll see this screen above when you go to the Master List and and set up your categories. You can also open it any time from your Master List by clicking on the three dots on the top right of the first column and then "organize categories".
On Set Up Your Life Areas, look at the chips under Quick add & rename. Click any that fit you to add them.
Missing one? Type a name under Or create one, then press Enter or click +.
Right-click a category to Rename or Delete it. The small x on a category removes it too.
Drag categories to put them in the order you like. Remix the colors and pick a palette until you like the color combination.
Click Continue when you're happy with the list. (When you open this screen later from the Master List, the button says Done.)
Tip
Don't worry about getting it perfect. Every category can be renamed, moved or deleted later without losing the tasks inside. It can take some time to find the setup you feel comfortable with.
Colors and icons
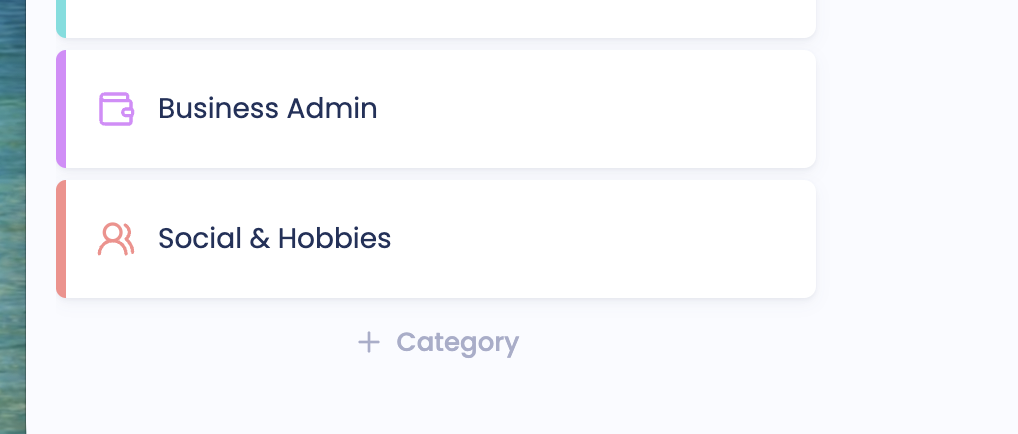
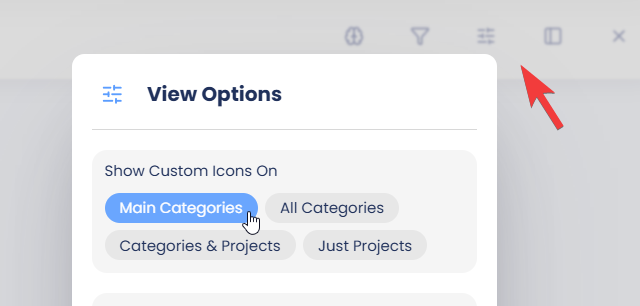
Each category gets a color and an icon so you can recognize it at a glance, in lists, in Today and on your calendar.
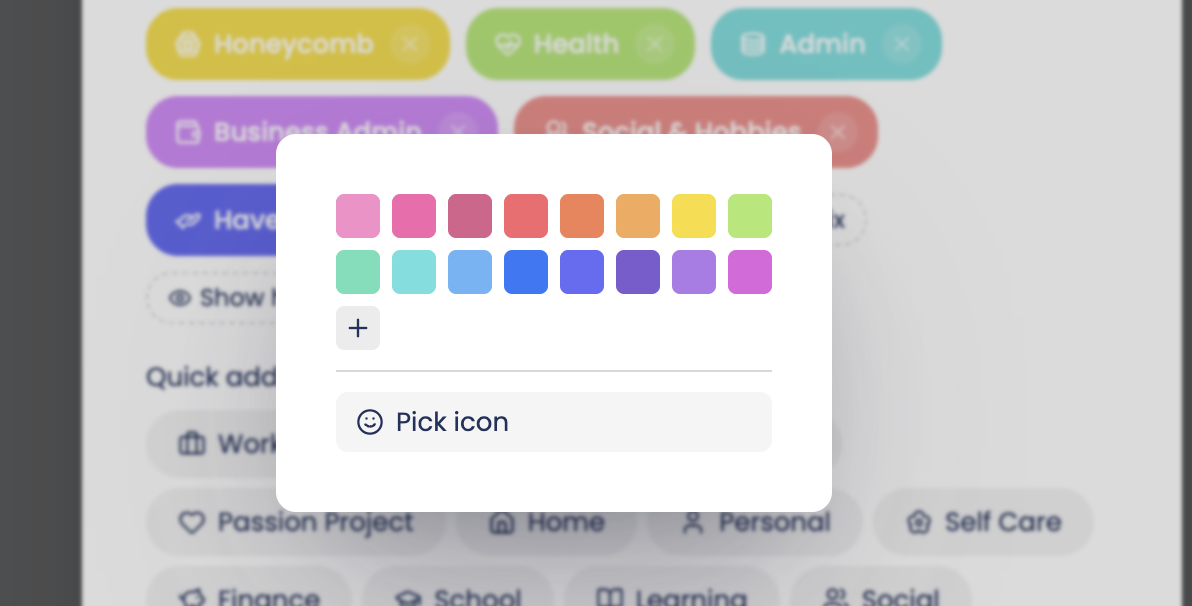
Click a category to pick its color. Click + in the color grid to use a custom color.
In the same popup, click Pick icon to change its icon.
Click Change palette to switch the whole set to a different color family.
Click Color remix to shuffle colors across your categories.
Redesign Website (Pick color scheme, Collect inspiration, Design header, etc.)
Final Essay for "Intro to Literature" (Brainstorm topic ideas, Outline paper, Write Introduction, etc.)
Plan Paul's Birthday Party (Order cake, Make invite list, Book clown, etc.)
Lose 10lbs (Research exercise programs, Buy/download exercise program, Make weekly workout plan, Book appointment with nutritionist, etc.)
Guest Blogging Experiment (Make list of 50 blogs, Brainstorm topic ideas, Write draft for post XYZ, etc.)
Get House Organized (Buy boxes for donation items, Sort out clothes to donate, Organize kitchen drawer, etc.)
Changing your categories later
Open the Master List (the folder icon in the sidebar).
Open the menu at the top of the first column.
Choose Organize Categories.
This opens the same screen as above, so you can add, rename, recolor and delete in one place.
Using Subcategories
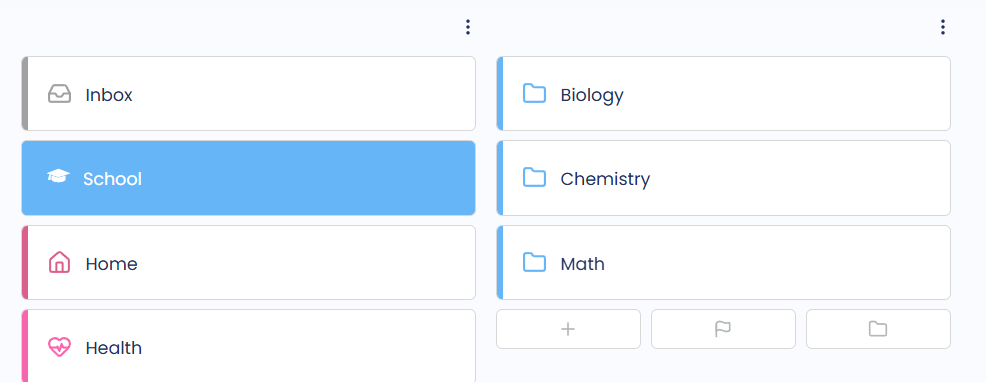
If one area gets big, you can nest categories inside it. For example, Work might hold Clients, Admin and Marketing. Start without subcategories and only add them when a category feels crowded.
Next step
Your categories are ready. Now fill them: Empty your mind (braindump).